Hey friends! It's time for another Altenew release and this one is packed with awesome stuff. I created a few projects to share with you using a couple of my faves from this January release.
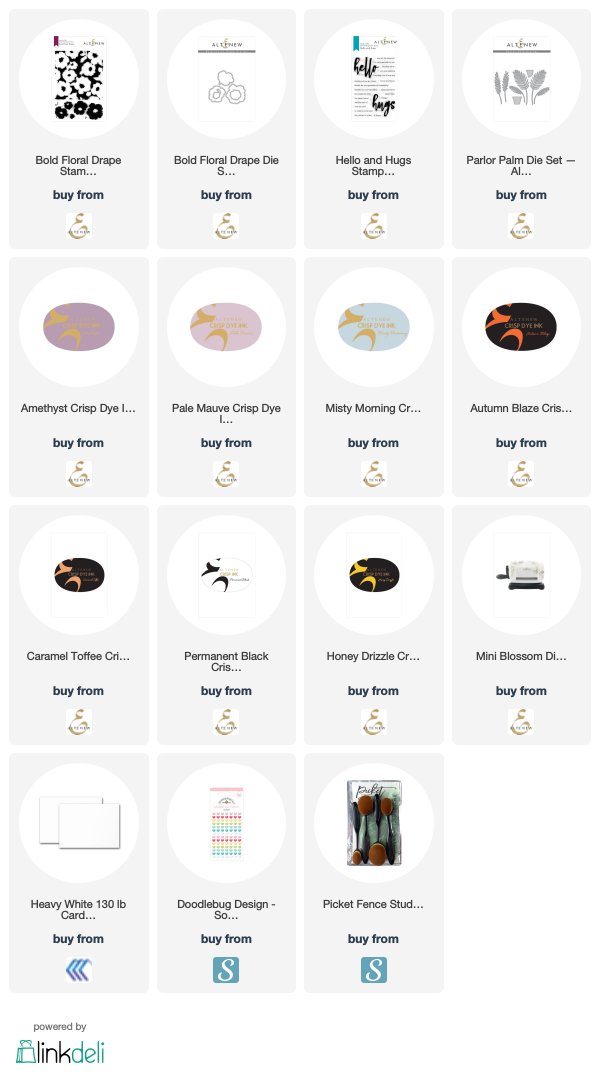
First up is the Bold Floral Drape Stamp Set. This set is awesome because it's both a background stamp and individual flower stamps. I started by stamping the background in Misty Morning Ink (quickly becoming a new fave) and then stamped coordinating individual flowers in a few purple shades from the Sugarplums family of inks and die cut them out.
For both of my projects today, I used the new Hello & Hugs Stamp Set. It's a great staple for all you card makers!
This next card features the new Parlor Palms Die Set. It's such a fun one and I think it can be used for all sorts of occasions.
After I die cut my leaves, I felt like they needed something to pop against, so I did a little ink blending and placed it behind a die cut circle.
I added a quick sentiment, so hand-drawn faux stitching, and a few little hearts to complete the card. So easy!
So, are you ready to find out how you can win some awesome prizes from Altenew?
To celebrate this release, Altenew is giving away a $50 gift certificate to 6 lucky winners! Please leave a comment on the Altenew Card Blog and/or Altenew Scrapbook Blog by 1/30/2020 for a chance to win.
We’ll also draw a winner to receive a $20 gift certificate from the comments left on each designer’s blog on the blog hop list below. All winners will be announced on the Altenew blogs on 2/2/2020.
The first stamp set features a Poppy and it's really beautiful. It also includes lots of different sentiments that are perfect for a variety of cards.
I decided to do a bit of no-line coloring for the card that I made. Honestly, I'm not super thrilled with my results - I'm still learning! Even so, it was super fun and I know that the next one will just get better.
I used the Altenew 36 Pan Watercolor Set to paint my flower an orange-y color on some watercolor cardstock.
After I painted the flower, I decided to do a bit of ink blending at the top of the card. I used the Linear Stencil for a bit of interest and to "fill in" the empty space.
I finished with a sentiment, some twine, and some splatters. Can't wait to use this set again with a completely different style!
To celebrate this release, Altenew is giving away a $30 gift certificate to 6 lucky winners! Please leave a comment on the Altenew Card Blog and/or Altenew Scrapbook Blog by 1/28/2020 for a chance to win.
We’ll also draw a winner to receive a $15 gift certificate from the comments left on each designer’s blog on the blog hop list below. All winners will be announced on the Altenew Card Blog on 1/30/2020.
The Build-A-Flower Stamp Sets from Altenew are some of my favorites and Lavender is a gorgeous one! It's perfect for card making and I created two to share with you today.
On the first card, I wanted to use the flowers in a traditional purple color scheme. I used the Shades of Purple Mini Cube Set along with some minty greens for the stems.
I wanted the create a background for them to pop off of, so I used the linear stencil with Arctic Ink and concentrated on the lower half of the card. I heat embossed the greeting and added a few clear dew drop gems from my stash.
On the second card, I thought it would be fun to stamp a bunch of grayscale flowers on my background and then have one in color for a pop!
I used some darker greens for the stem on this one and stamped my sentiment on a strip of white cardstock, popping the colorful lavender on top. I put it all on a light purple card base and I love the look!
So, as with all of their releases, Altenew has a very generous giveaway and a blog hop full of inspiration!
Prizes:
To celebrate this release, Altenew is giving away a $30 gift certificate to 6 lucky winners! Please leave a comment on the Altenew Card Blog and/or Altenew Scrapbook Blog for a chance to win.
We’ll also draw a winner to receive a $15 gift certificate from the comments left on each designer’s blog on the blog hop list below. All winners will be announced on the Altenew blogs on 11/9/2019.
Do you love all of those gorgeous artistic looks you see in home decor, fashion, and craft projects? Are you a little intimidated by it? I want to show you 10 easy ways to add that artful touch to your projects!
I go over them in detail in the video, or you can scroll through the list below for some inspiration!
1. Acrylic Paint Stripes - Use a large flat brush, your favorite colors of acrylic paint and just swipe them across a piece of paper for some easy home decor or the background of a scrapbook layout or card!
2. Paint Dragging - Use an old gift card, palette knife, or even a thick piece of cardstock to drag paint across a piece of paper. I love doing this with leftover acrylic paint from other projects. Waste not, want not, right? Here are a few examples...
I used several different coordinating colors to drag the paint vertically for the background of this layout.
On this layout, I created an L-shape with two shades of the same color and that created a home from my photo and embellishments.
3. Paint Splatters - This technique is super easy. Just use watered down paint or spray mist and flick on the color. So easy. So effective. I use this on at least half my layouts!
For this layout, I sprinkled paint in the colors of the embellishments and I love the extra pop it gives!
4. Punch or Die Cut Shapes from Painted Backgrounds - Sometimes a painted background just doesn't work out the way I planned. BUT, I always find that if I punch shapes out of it, I get little bits of goodness that are easy to add to my projects.
Circles are my favorite. You can see on this layout that I took a piece of paper where I dragged the paint across and die cut circles from it. You get all the punch without being overwhelmed!
Here's another example where I layered the paint on thick, let it dry overnight, and then punched it. Glorious!
5. Smooshing Paint/Ink with Packaging - This is absolutely one of my favorite ways to add that artsy look with almost no effort. Just take a piece of packaging, add watercolor, ink, or spray mist, turn it over, and smoosh it down on your paper. So easy! (Watch the video for a demo).
In this example, I used the same colors that I wanted to use for my layout and it gives a soft, ethereal look.
Here's another similar look. I find blue smooshing adds a watery look to my ocean photos!
6. Smooshing with a Stamping Block - If you want your smooshing to stay contained within a shape, this is a great way to go. My favorite is my circular stamping block, but you could use anything shaped and plastic-y to get a similar look.
The bright circles of color add so much to this layout (which is actually a little peek at a layout from my Ready, Sketch, Go! Volume 5 Class)!
7. Watercolor Swatches - Do you ever test new watercolors on a piece of paper, just to see what the colors look like? Save that! It makes an excellent card.
8. Squares of Color - Another wonderful and simple way to create a background for a card. Simply paint small squares of coordinating colors.
9. Watercolor Stripes - Similar to the first technique, take a paintbrush (round or flat) and load it up with watercolor. Paint stripes for a card background. I love doing the colors of the rainbow!
10. Pre-made Products - If after all of these examples, paint just isn't for you, you can absolutely use products that already have that awesome look to them! You can find anything from patterned papers, transparency, die cuts, washi tape, stickers, and stamps to give you that awesome painted look without the mess!
The most recent release from Altenew has a lot of papers and embellishments that will give you that artful look - so pretty!
The circles on this layout were actually made by applying some large washi tape with a floral pattern to white cardstock - such an easy way to add that gorgeous look.
This layout is a great showcase of pre-made artsy patterns. The background (a Crate Paper + Scrapbook.com exclusive) has the pink painted circlular strokes and the speech bubbles were a pre-made die cut from Pretty Little Studio. Gorgeous, right?
I hope that I've given you some ideas (and maybe some courage) to go out and try these techniques on your own! And if you want lots of inspiration, be sure to head over to my Facebook group where people are posting new projects all the time!