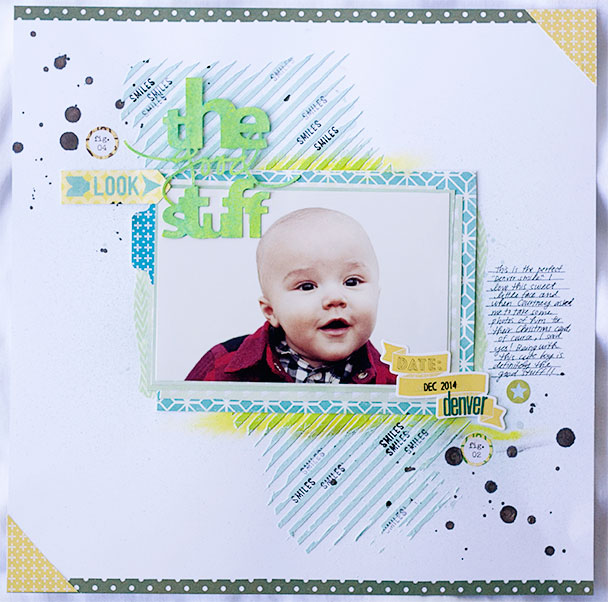
Until the day before yesterday. I decided to kill those kits. Really, they had it coming, what with all that mocking. I created seven layouts from those kits in one sitting. Get ready for a photo overload...
These layouts were created with the first kit:

And these were with the second. I liked the second kit more...
You can see a full layout share in this video:
1. Not every single page needs to be a masterpiece. Sometimes it's fun to just let go, play with pretty papers, and not worry too much about the end result.
2. Pick products you love. If you try to make a kit out of all of the items that have been sitting in your stash because you don't love them, you are going to have a hard time with the kit.
3. The more you create, the easier it gets. I made all of these layouts in one sitting. I know that isn't feasible or even desirable to everyone, but the point I want to make is this: If you create consistently, you don't get stuck as often. The more layouts I made, the more I felt like I could make and the faster the process was.
A few weeks back, I asked my YouTube followers to let me know what they would like to see from me on my channel or in future classes. By far, the most popular reply was creating kits from your stash/mixing old product with new products. I thought for a minute that this would be a great topic for my first class because it was in high demand! But, I decided instead to make it a weekly series on my YouTube channel. I want this information to be available to all.
So, starting tomorrow, I'll be launching a new series called Stash Kits: Old Meets New. In the first video, I'll go into detail about how to put a kit together using older products mixed with newer items. Future videos will show either a process video or layout share. I hope you'll enjoy it!
As always, thanks for stopping by!


Gorgeous layouts and brilliant series concept! Can't wait to see what you come up with! xo
ReplyDeletethose are incredible layouts share! all so wonderfully done! I am very excited for your new series, looking forward to tomorrow!
ReplyDeleteI really enjoy your videos (so informative) and your layouts are wonderful too. But I think what I like the most is that you always include a lovely story on your pages. That's why I scrapbook - to tell my stories. I see lots of layouts that are beautifully designed but sadly (at least to me) they have no journaling on them. Thanks for sharing and I'm looking forward to seeing what you come up with next!
ReplyDeleteA companion to your stash-busting kit building: Counterfeit Kit Challenge Blog. It's free & there is a monthly kit chosen for inspiration to "forge" by shopping your own stash. We post a tutorial, Forgeries on the Fourth, each month to show how the team created some of our counterfeits. The site features a Linky for all to post their kits & subsequent creations. There are three challenges each month for further inspiration + a members blog hop where our follower's work is featured if they so desire. Go to http://counterfeitkitchallenge.blogspot.com/ Would love to have you join us!
ReplyDeleteI just recently started watching you on YouTube. I think I was directed to your channel by Katie Scott of KissandTellScrapbooking. I absolutely can't wait for the new series. Will you start it this week or next? I have SOOOOOOOOO much stash to use. Already bought new Iris boxes and trays!!! Squeeee!!!
ReplyDeleteThanks for inspiring us to tell our stories.
Rhonda H
Oops, I have a couple of questions. Referring to your "Kit Recipe List" from above, what do you mean by "trims"? Precut border strips? Washi Tape? Ribbon??? Do you look for a certain pattern mix on your patterned papers? I have heard an interior designer talk about this. They pick a solid or tone on tone pattern, a large print, a small print, a stripe, a dot or plaid, etc....do you do something like this? And when picking embellishments for a kit, do you try to grab certain types each time, like some wood veneer, some buttons, enamel dots, some chipboard shapes or something else?? Thanks so much, Jen!
ReplyDeleteEEK! One more question. I should have put this one first. How do you START compiling a kit? Do you choose a color scheme from a favorite patterned paper and go from there? Or is there some other way?
ReplyDeleteCheck out today's post! I think most of your questions will be answered. :)
DeleteFound your YouTube-Channel yesterday and love the way you put together your kit. The layouts are great and your tips are very helpful. I also love to put together own kits, in a different way of you. It's such a good way to Combine new with old supplies and discover great combinations.
ReplyDeleteThanks for your Inspiration, Anne.
Did you know there is a blog site named Counterfeit Kit challenge where we create our own kits from older items on our stash? Check us out http://counterfeitkitchallenge.blogspot.com.au/
ReplyDeleteSo you aren't the first to come up with this idea.
I have definitely heard of counterfeit kits...just sharing the way I do things. :)
ReplyDelete